Learn how to install Wimi Drive on macOS.
Go to Wimi Options (the 3 vertical points of the blue vertical menu).
- Click on Applications then in the Wimi Drive section, click Download (MAC).
- Open the download folder and double-click on the WimiDisk.dmg package,
- Drag the WimiDisk.app application to the Applications folder and once copied, launch it.
- Confirm the final installation of Wimi Drive requested by macOS, by clicking on Open.
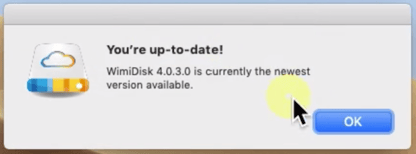
Wimi Drive is installed. It checks for an update and displays its version number.
Wimi Drive then becomes accessible in the menu bar by the light gray cloud icon.
![]()
All you have to do is link your Wimi Drive account.
Create your Wimi Drive account on macOS
- Click on the gray cloud, located in the menu bar of your mac (top right).
- Click on the gear, choose the language of your Wimi Drive and click Next.
- Click on I already have a Wimi account or on Create a Wimi account.
- Enter the name of your Wimi account in the field and click Next.
- Enter your Wimi account credentials (email and password).
- Leave the options proposed by default:
- The target directory (or root) where the folder of your Wimi Drive will be created.
- The checked box "Organize workspaces by category": your workspaces will be organized by categories on which they depend, as on your Wimi online.
If you uncheck the box, your workspaces will be organized by their names.
- The checked box "Organize workspaces by category": your workspaces will be organized by categories on which they depend, as on your Wimi online.
Click Synchronize to finalize the creation of your Wimi Drive account. Wimi Drive then launches two actions:
- It creates on your Mac, the root folder of your account: Wimi Drive + name of your Wimi.
- It starts copying and synchronizing all category folders and your workspaces, their respective folders and files.
-
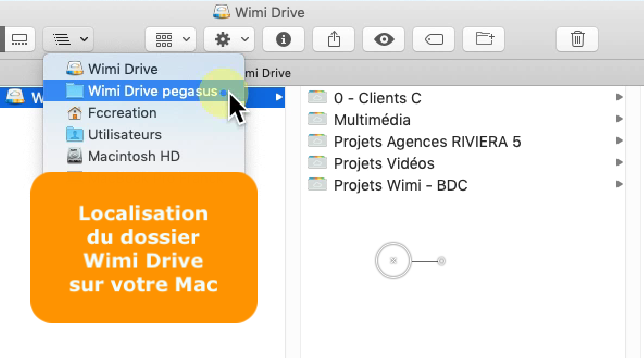
Access the root folder of your Wimi Drive on macOS
Here is the full path to the root folder of your Wimi Drive on your Mac.
Finder> Home> Wimi Drive + your Wimi name> Wimi Drive>> your Categories> your Workspaces> folders and files.
How to differentiate the "categories" folders from the "workspaces" folders?
- Category folders have a multi-colored tab.

- Workspace folders have a gray tab.

Selective synchronization of your workspaces on your Wimi Drive
You can choose which categories and which workspaces will be synchronized or not on your macOS Wimi Drive.
When you create your Wimi Drive account, if you left the options offered and checked by default, you should have all of the folders in your categories, containing all the folders in your workspaces, exactly as on your Wimi online .
However, you can choose and select the workspaces that you want to synchronize or not on your workstation.
- Click on the black cloud, icon located in the menu bar of your mac (top right).
- Click on the gear, then on Selective synchronization.
- Check / uncheck the categories and the workspaces to synchronize or not.
- Click on Confirm to validate.
Wimi Drive will launch a synchronization taking into account your new settings.